


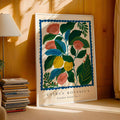
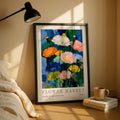




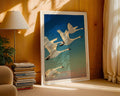



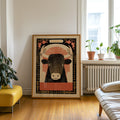
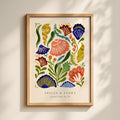
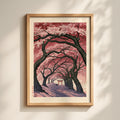

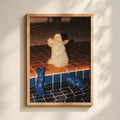
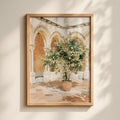
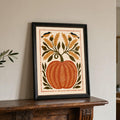


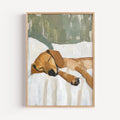

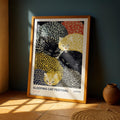

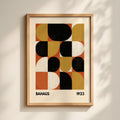




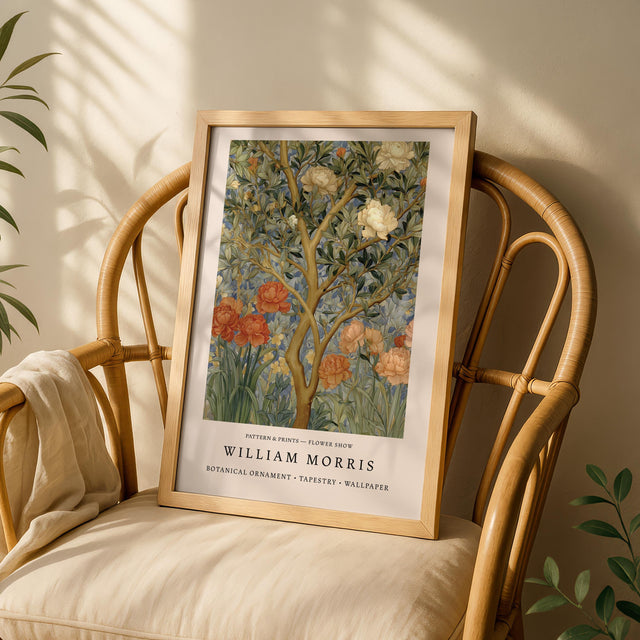
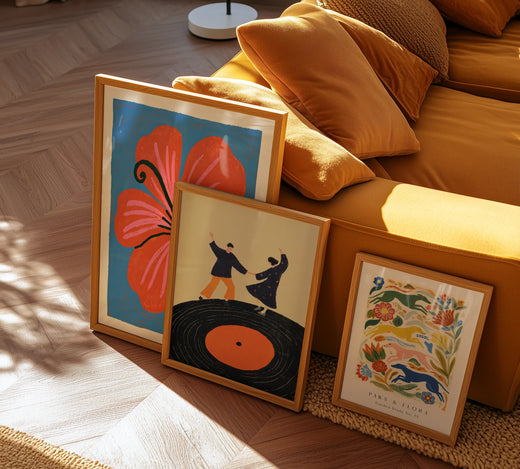
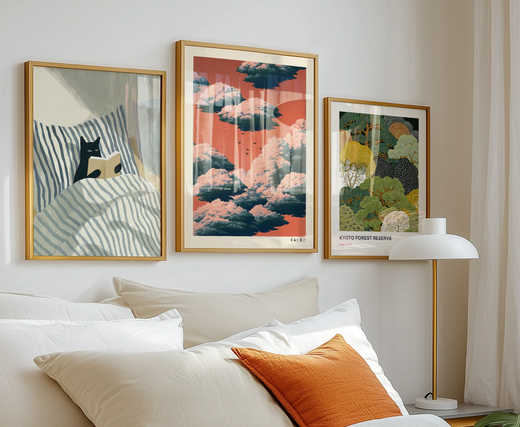
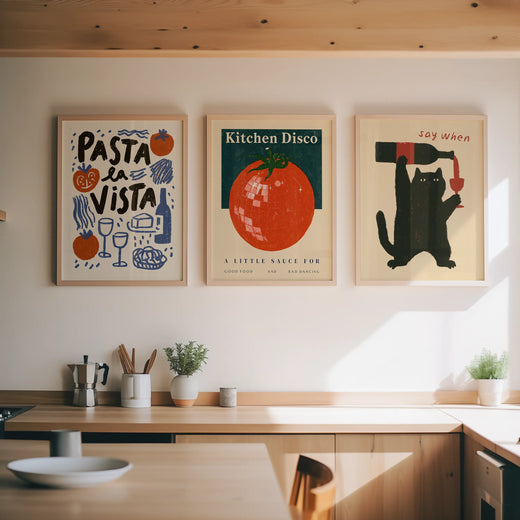
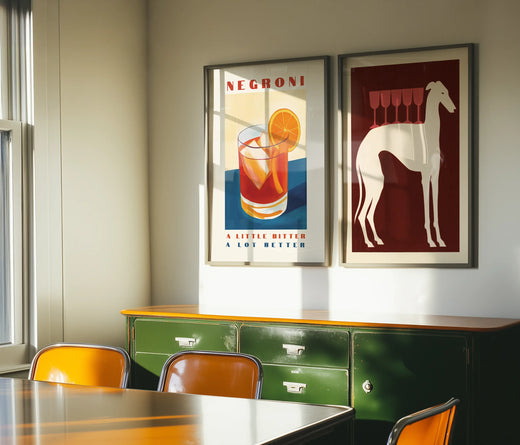

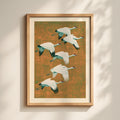

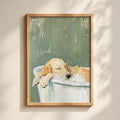

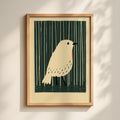
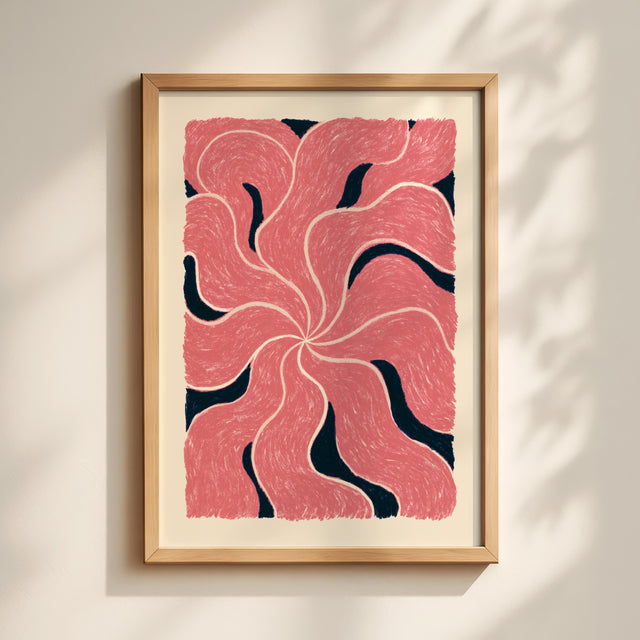



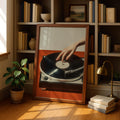

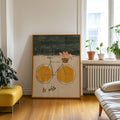


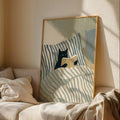
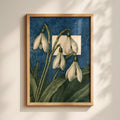


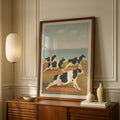




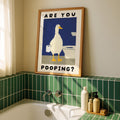



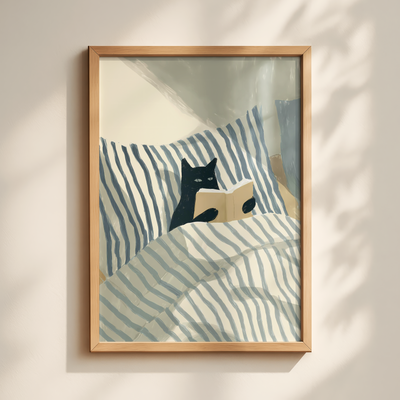
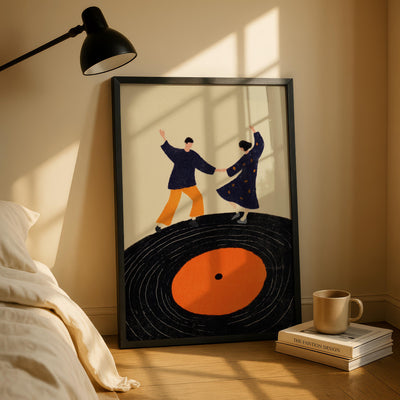
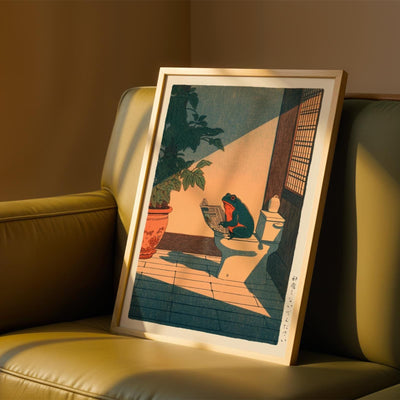


Shop the 8 prints in this wall
-
Fuji Flower Fields Print
Regular price From £19.00Regular price -
Espresso Cup Print
Regular price From £19.00Regular price -
Wine Glass Print
Regular price From £19.00Regular price -
Three Horses Scroll Print
Regular price From £19.00Regular price -
Sleeping White Cat Ink Print
Regular price From £19.00Regular price -
Vintage Sardine Fish Print
Regular price From £19.00Regular price -
Mid-Century Modern Form Studies Print — Cobalt
Regular price From £19.00Regular price -
Cactus Flower Print
Regular price From £19.00Regular price


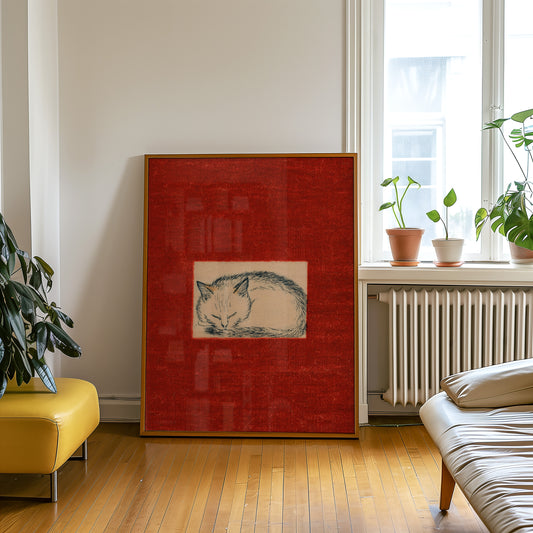


To plan a gallery wall, choose one layout (a grid, a salon hang, a row, a column or a small cluster) and keep to it. Cut a paper template for each frame, arrange them on the floor, then tape them up before you drill. Leave 5 to 8 cm (2 to 3 in) between frames and centre the group 145 to 152 cm (57 to 60 in) from the floor.
A messy gallery wall and a calm one can hold exactly the same prints. The calm one was planned, usually on the floor, and that takes about twenty minutes with a tape measure and a roll of brown paper.
In short
Above a sofa, bed or sideboard, leave 15 to 25 cm (6 to 10 in) under the frames and keep the group to about two thirds of the furniture's width.
Hang the biggest print first and work outwards from it.
Most walls that look wrong are hung too high, so if in doubt, go lower.
Contents 12 sections
- How to plan a gallery wall, step by step
- How many prints, and which sizes
- Gallery wall layouts explained
- Mixing portrait and landscape
- A salon hang above the sofa
- A grid for the hallway
- A narrow column for a stairwell or between windows
- A row above the bed
- A small group on a sideboard
- How high to hang a gallery wall
- A gallery wall without nails
- Gallery wall do's and don'ts
How to plan a gallery wall, step by step
Work through it in this order. The paper stage is the one people are tempted to skip, and it's the one that saves a wall of filled-in nail holes.
- Measure the wall. Note the width and height of the space you want to fill, and the width of any sofa, bed or sideboard below it. Mark the outer edges on the wall with low-tack painter's tape.
- Pick an anchor print. The largest, or the one you love most. Everything else is arranged around it, so it goes into the plan first.
- Cut paper templates. Brown paper or old wrapping paper, cut to the outer size of each frame. Measure down from the top of the frame to its hanging point and mark that spot on the template with a cross.
- Arrange on the floor. Tape out a rectangle on the floor the size of your wall area and lay the templates inside it. Move them until the gaps are even and the weight feels balanced.
- Tape up and step back. Stick the templates to the wall and live with them for a day. What seemed fine on the floor often looks too high or too spread out once it's up.
- Hang. Put each nail or hook straight through the cross on its template, then tear the paper away. Start with the anchor and work outwards.
How many prints, and which sizes
Start from the furniture, not the prints. We aim for the whole group, frames and gaps together, to span about two thirds of the sofa, bed or sideboard below it. Then pick the sizes that add up to that width, from our living room prints or anything you already own.
| Above | Prints that fit | Total width |
|---|---|---|
| A 200 cm sofaAim for about 130 cm | Three 16×20″ in a row | 139 cm |
| Eight 11×14″, two rows of four | 136 cm | |
| One 24×32″ with two 11×14″ stacked either side | 133 cm | |
| A 150 cm bedAim for about 100 cm | Three 12×16″ in a row | 109 cm |
| Two 16×20″ | 91 cm | |
| Six 11×14″, two rows of three | 100 cm | |
| A 160 cm sideboardAim for about 105 cm | One A2 with four 8×10″ around it | 101 cm |
| Or any of the bed layouts | 91 to 109 cm |
Widths are to the outside of our frames, with 6 cm gaps. The sheet below draws nine layouts to scale above a 200 cm sofa, with the prints to buy under each.

Gallery wall layouts explained
Almost every gallery wall we plan is one of five layouts. Each has its own rules, so it helps to know which one you're hanging before you start.
- Grid. Identical frames in rows and columns, with equal gaps. Good for hallways and anyone who likes things tidy. It needs four or more prints of the same size.
- Salon. A layered, mixed hang of different sizes around one anchor. Made for a large wall above a sofa, or a collection that has grown over time.
- Symmetrical row. Two to four prints in a line, mirrored around a centre point. The natural choice above a bed, a console or a fireplace.
- Narrow column or staircase run. A vertical stack, or a diagonal that follows the stairs. For the strip between two windows, a stairwell, or any wall that is tall but narrow.
- Small cluster. Three prints grouped off centre, some hung, some leaning. Best on a sideboard, a desk or a mantelpiece.
Pick one layout and keep to it. A wall that is half grid and half salon looks as though two people started hanging it and stopped speaking halfway through.
The sheet below draws twelve variations across the five, to scale in our print sizes.

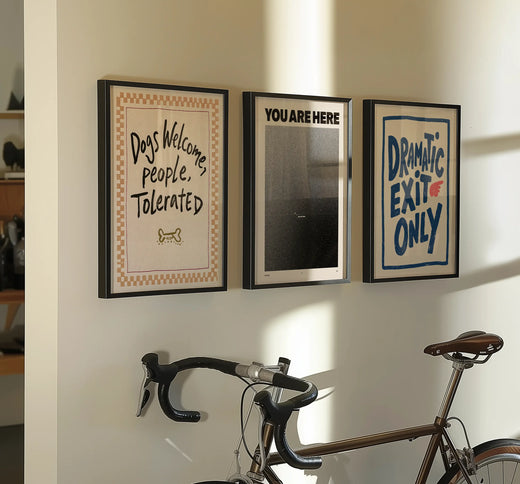
If it's your first gallery wall, start with a row. Three prints in a line, centred on the sofa, with their sizes close and their centres level, look settled straight away and are hard to get wrong.

Shop the 3 prints in this wall
-
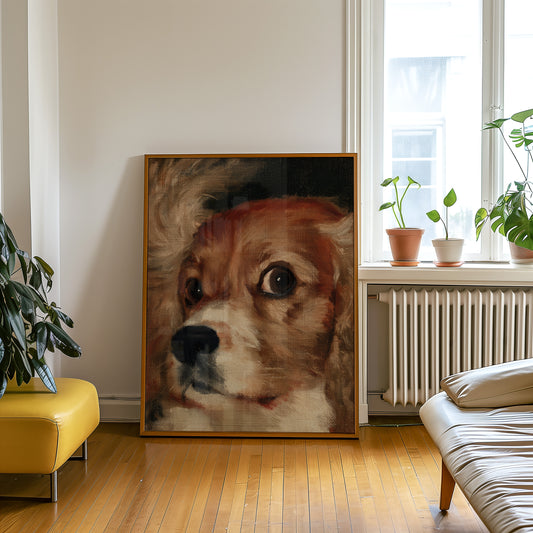
Cavalier Spaniel Puppy Print
Regular price From £19.00Regular price -
Startled Black Dog Wall Art
Regular price From £19.00Regular price -
Golden Retriever Oil Portrait Print
Regular price From £19.00Regular price



Mixing portrait and landscape
Most walls end up with both, and that's fine as long as something lines up. A grid keeps each row to one orientation. In a row, line up either the top edges or the centres, and choose one. A salon hang can take one or two landscape prints to break up a wall of tall frames, as long as each lines up with something, either the bottom edge of the print beside it or the outer edge of the group.
We'd keep landscape prints out of a narrow column. A wide frame in a tall strip makes the strip look narrower.
A salon hang above the sofa

Shop the 9 prints in this wall
-
Whippet Oil Portrait Print
Regular price From £19.00Regular price -
Plant Parent Houseplant Print
Regular price From £19.00Regular price -
Terracotta Horizon Print
Regular price From £19.00Regular price -
Swallow in Flight Print
Regular price From £19.00Regular price -
Sisters in Red Coats Print
Regular price From £19.00Regular price -
Three Cherries Print
Regular price From £19.00Regular price -
Two Cats Print
Regular price From £19.00Regular price -
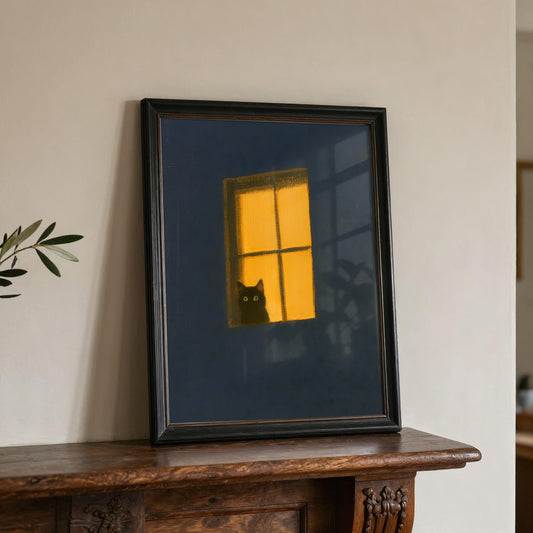
Navy Window Cat Print
Regular price From £19.00Regular price -
Burgundy Series Abstract Jug Print
Regular price From £19.00Regular price




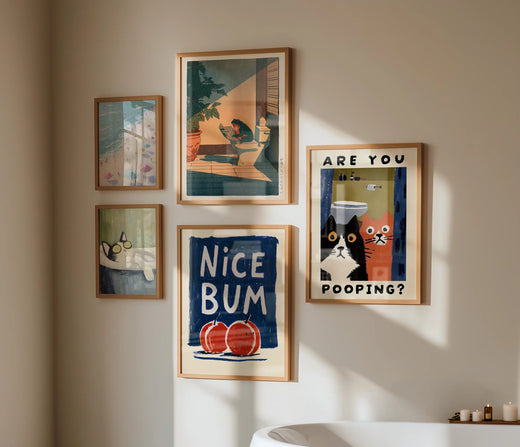
The wall above is nine prints in mixed sizes, gathered round one larger frame set just off centre, so the wall doesn't look like a target. Nothing lines up exactly, and it still reads as one piece, because red and orange turn up in seven of the nine frames. The name comes from the Paris Salon, which Sotheby's describes hanging works floor to ceiling across every available wall.
Repeated colour is what holds a salon wall together. Ideal Home describes the 60-30-10 rule, where roughly 60% of a room is a dominant colour, 30% a secondary and 10% an accent, and Livingetc notes that artwork and accessories often carry that accent. On a salon wall we pick one accent, a rust or an amber, and make sure it shows up in at least every other frame. With that in place, the prints can be as mixed as you like.
A shared subject works too. The six reading scenes below are all different pictures, but each has books in it and the same warm browns and reds, so together they read as a set.
A salon hang can look free, but it still needs edges. We keep the whole group to about two thirds of the sofa's width and the outer edges roughly straight, so the cluster reads as one shape from across the room.
A grid for the hallway

Shop the 6 prints in this wall
-
Burgundy Series Abstract Jug Print
Regular price From £19.00Regular price -
Burgundy Series Abstract Jug Print
Regular price From £19.00Regular price -
Burgundy Series Abstract Jug Print
Regular price From £19.00Regular price -
Burgundy Series Abstract Jug Print
Regular price From £19.00Regular price -
Burgundy Series Abstract Jug Print
Regular price From £19.00Regular price -
Burgundy Series Abstract Jug Print
Regular price From £19.00Regular price
A hallway suits a grid, because you see it as you walk past and a calm, repeated rhythm reads well at that pace. Six identical frames in two rows of three is plenty.
Choose prints that share a palette and a level of detail, so no single frame jumps out as you pass. A run of Japanese botanicals in the same soft greens works well, and so does a set of line drawings or photographs in one tone.
A grid only works when everything repeats, so use the same frame, the same size, the same gap and, if you use them, the same mount (the card border inside the frame). In a salon hang a wobble looks like character. In a grid it looks like a mistake.
We keep grid gaps at the tighter end, around 5 cm (2 in). Hang the top row first with a spirit level, then measure the same gap down for each frame below.
A narrow column for a stairwell or between windows
A column works where there's height but no width, such as the strip between two windows, the wall beside a door or a stairwell. Keep the frames the same width, or at least centred on one vertical line, with the middle print at eye level and the others above and below it.

Two prints suit a shorter strip, and we'd stop at three. A fourth ends up so high that nobody really looks at it.
The staircase version tips the column onto the diagonal, each print stepping up with the handrail. Measure from the tread directly beneath each frame, not from the floor at the bottom, and use the same centre height for every one. The line of centres then runs parallel to the handrail without any maths. Tape the templates up and walk the stairs a few times before you drill.
A row above the bed

Shop the 4 prints in this wall
-
Burgundy Series Abstract Jug Print
Regular price From £19.00Regular price -
Burgundy Series Abstract Jug Print
Regular price From £19.00Regular price -
Burgundy Series Abstract Jug Print
Regular price From £19.00Regular price -
Burgundy Series Abstract Jug Print
Regular price From £19.00Regular price
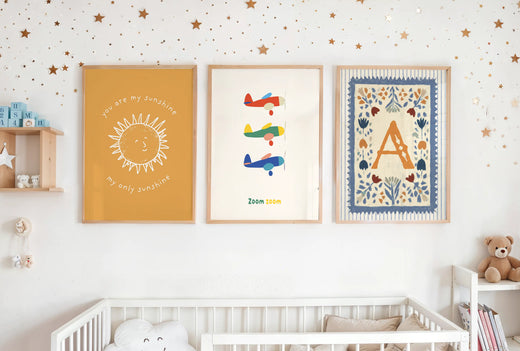
Four prints of one size sit side by side, centred on the bed. Keeping the size the same is what makes a row look calm, so the pictures themselves can be quite different, as long as a colour runs through them. Here the orange of the poppies turns up again in the circles at the end of the row.
A row above a bed wants symmetry. Centre it on the headboard, not the wall, and make the whole row, frames and gaps together, about two thirds of the bed's width. On a 150 cm (about 5 ft) bed, that's around 100 cm (39 in).
Then hang it lower than feels natural, with the bottom of the frames 15 to 25 cm (6 to 10 in) above the headboard. You see a bedroom wall mostly from the bed, sitting up or lying down, and a row hung higher drifts away from the bed it belongs to.
A small group on a sideboard

Shop the 3 prints in this wall
-
Burgundy Series Abstract Jug Print
Regular price From £19.00Regular price -
Burgundy Series Abstract Jug Print
Regular price From £19.00Regular price -
Burgundy Series Abstract Jug Print
Regular price From £19.00Regular price
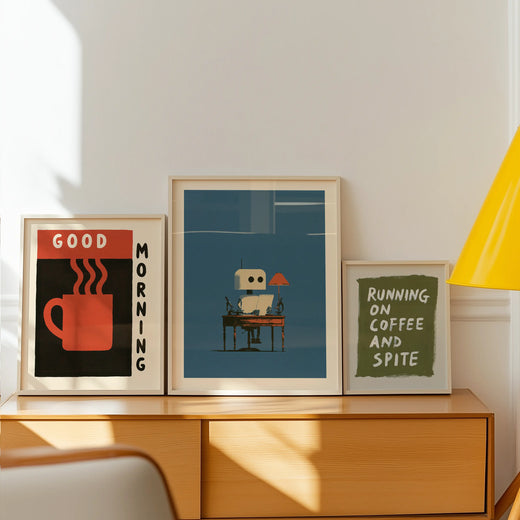
A sideboard is where we'd let go of symmetry. Three prints centred on a sideboard look like a shop window. Pushed to one end and layered, with a lamp or a pile of books balancing the other end, they look like someone lives there.
Put the print with the strongest colour or shape at the back, where the eye lands first, and something quieter in front so the group doesn't get busy. The third can be anything small, a postcard, a photograph or a little framed print.
Hang the largest on the wall first. Lean a medium one against the wall in front of it, shifted to one side, then let the smallest overlap the corner of the leaning frame.
How high to hang a gallery wall
When a gallery wall looks wrong, it's usually out by a few centimetres, and almost always too high. These are the numbers we hang to.
- Centre height on an open wall. 145 to 152 cm (57 to 60 in) from the floor to the middle of the group.
- Above a sofa, bed or sideboard. 15 to 25 cm (6 to 10 in) from the top of the furniture to the bottom of the frames. This takes over from the centre height.
- Between frames. 5 to 8 cm (2 to 3 in), kept the same across a grid or row.
- Width above furniture. About two thirds of the furniture's width, for the whole group.
The centre height comes from the 57-inch rule. Apartment Therapy explains it as hanging art so its centre sits 57 inches (about 145 cm) above the floor. "On centre" means the middle of the artwork, not the top and not the hook, and the rule works for any size of art, including a group treated as one piece. We let it run up to 152 cm for tall ceilings or a household of tall people, and hang a sofa wall a touch lower, because most of the looking in a living room happens sitting down.

Use one picture hook per frame, and two for anything wider than about 50 cm (20 in), spaced apart so the frame can't tilt. Our framed prints arrive with a hanging kit. On plasterboard, use a plasterboard fixing rated for the frame's weight rather than a nail on its own.
Measure every hook height up from the floor, never down from the ceiling, because every figure above starts at the floor and ceilings are rarely level. Once each frame is up, check it with a small spirit level.
A gallery wall without nails
If you're renting or not ready to drill, plan the wall in exactly the same way. Only the fixing changes.
- Adhesive picture-hanging strips. They're rated by weight, so check the frame against the packet and follow its instructions. Best for small and medium frames.
- A picture ledge. One shelf, a few fixings, and the prints can change whenever you like.
- Lean, don't hang. A large print leaning on a sideboard or a mantelpiece, with a smaller one in front, needs no fixing at all.
- A picture rail. Many older houses have one. Hooks and cord hang from it, so the wall is never touched.
Gallery wall do's and don'ts
- Don't float it. The bottom edge sits 15 to 25 cm (6 to 10 in) above the sofa or bed, not 50.
- Do keep the gaps even. The same 5 to 8 cm (2 to 3 in) across a grid or row, because the eye reads a wobble as a mistake. On a salon hang the gaps can vary, but keep them within 5 to 8 cm and the outer edge straight.
- Don't use six frame tones. Two at most, such as black and light wood. A third starts competing with the pictures.
- Do start with the anchor. Hang the biggest print first and build outwards. Groups started from the edges drift off centre.
- Don't hang a scatter of small prints on their own. Without one larger piece, small frames read as clutter. One print around twice the size of the rest fixes it.
- Do repeat one colour. A single accent in most frames holds a mixed wall together better than matching everything.
- Don't centre the group on the wall when the furniture is off centre. Centre it on the sofa, bed or sideboard below.
- Don't skip the templates. Paper on the wall for a day costs nothing. Ten extra nail holes cost a weekend with the filler.
Sources: Apartment Therapy on the 57-inch rule, Sotheby's on the Paris Salon, Ideal Home and Livingetc on the 60-30-10 rule.
 Autumn living room ideas


 New in
 Bedroom Wall Art Prints